How to Make Our Solid Colour Cracker Kits
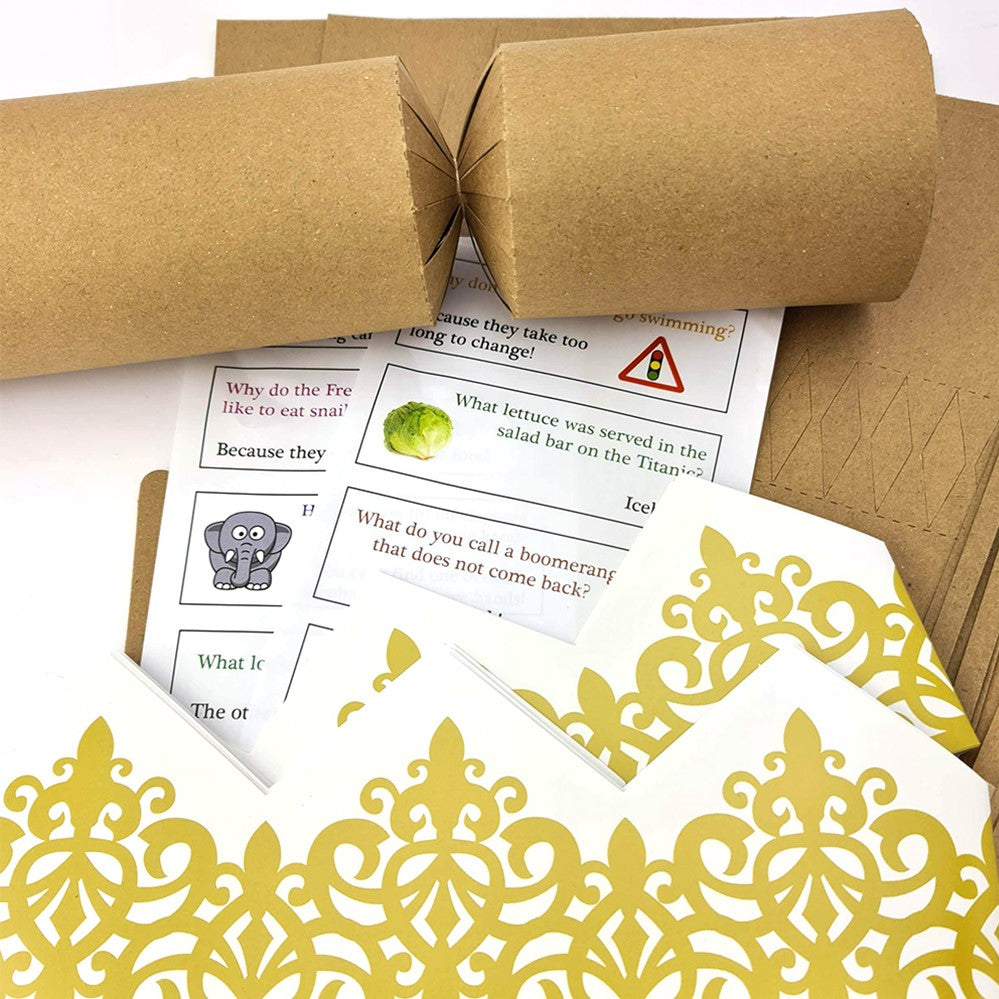
Our plain coloured cracker kits are available in a huge range of colours and come complete with paper hats, snaps and jokes.
The plain colours make them perfect for a wide range of occasions including Christmas, Easter, weddings, birthdays and other events. Just choose the colour that best suits your theme.
These colourful DIY crackers can be assembled, tied with a ribbon and used as they are, or they can be embellished further with ink stamps, jewels, faux flowers and many other craft supplies. The opportunities are endless!
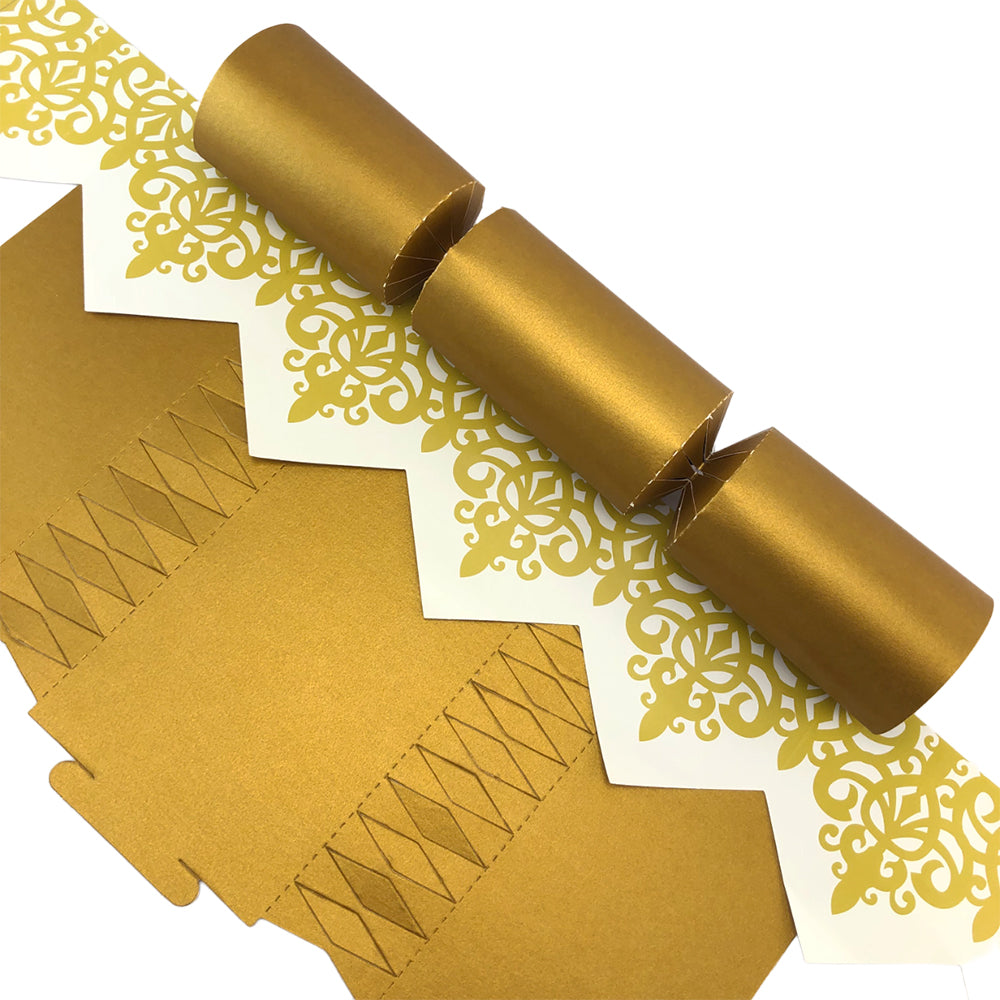
When assembling your crackers, it’s important to note that crackers are designed to rip at the necks when they are pulled. Therefore, please be careful when assembling our crackers, as they may tear around the “diamonds” if handled too roughly.
As mentioned in our video below, the placement of the cracker snaps is dependant on the size of the cracker you are making. The snap is a tighter fit in our large crackers, check out the video for hints on the exact placement.
Step-by-Step Instructions
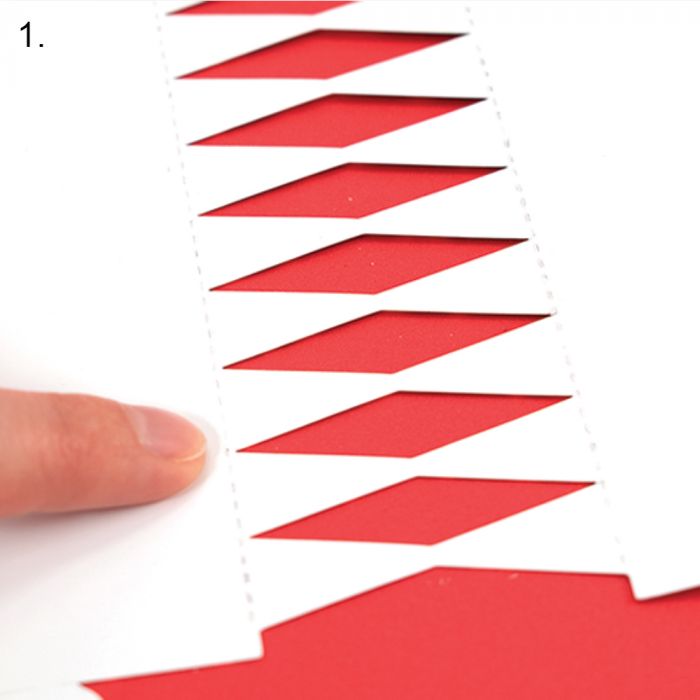
Step 1
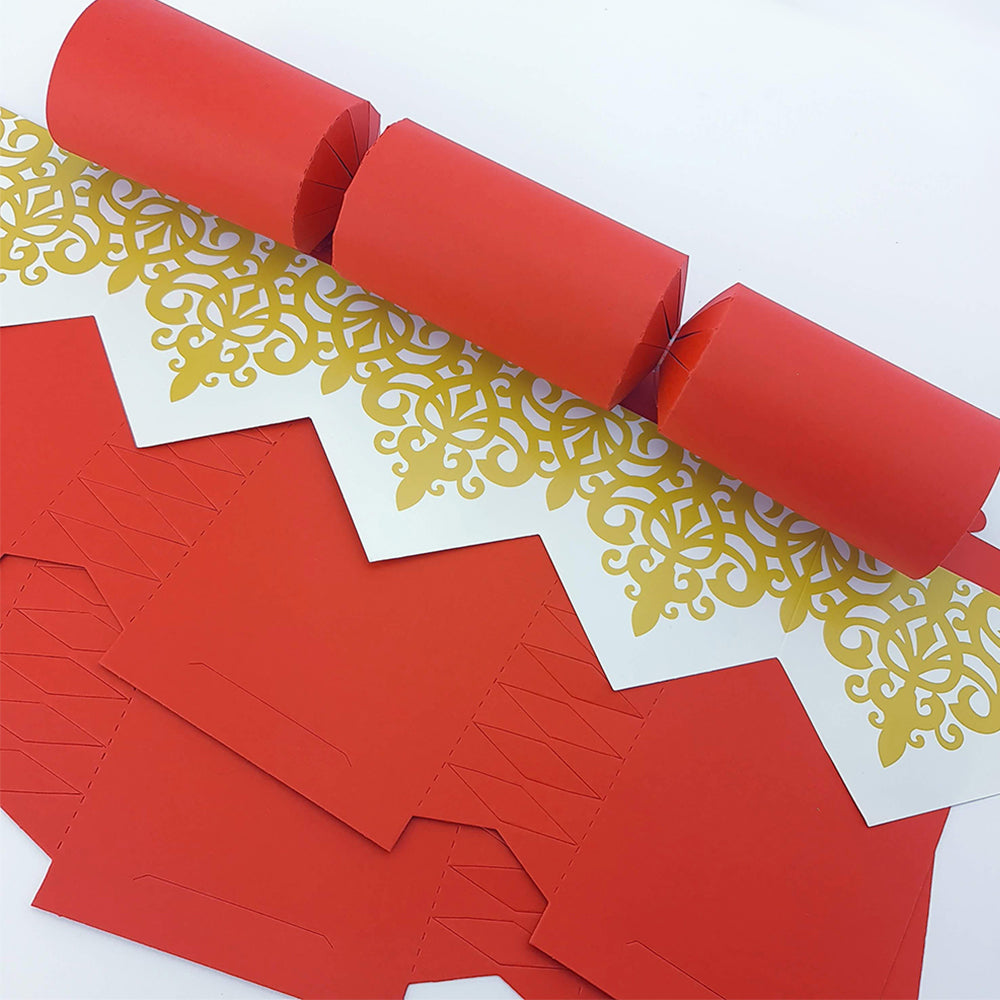
Firstly, gently push out all of the “diamonds” from the necks of the cracker boards.
Please be careful when assembling our crackers, as they may tear around the “diamonds” if handled too roughly.
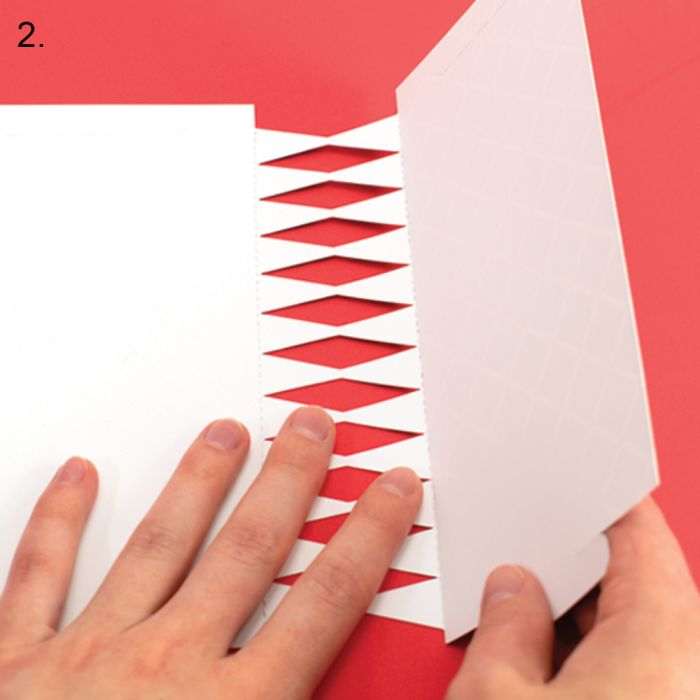
Step 2
Crackers have four sets of perforation lines across each one.
Lay the cracker face down and then gently crease the lines to help with assembly later.
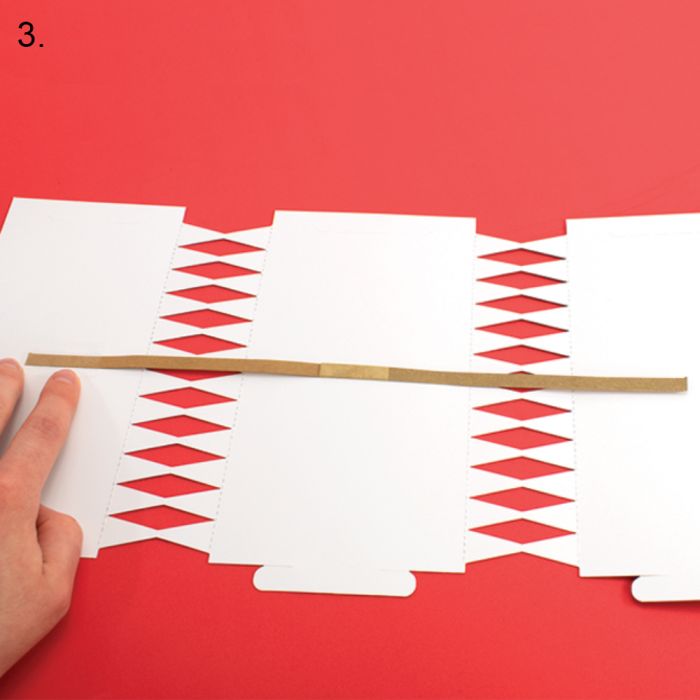
Step 3
With the cracker, still face down, place your snap along the length of the flat cracker so that each end of the snap sits evenly on the handles.
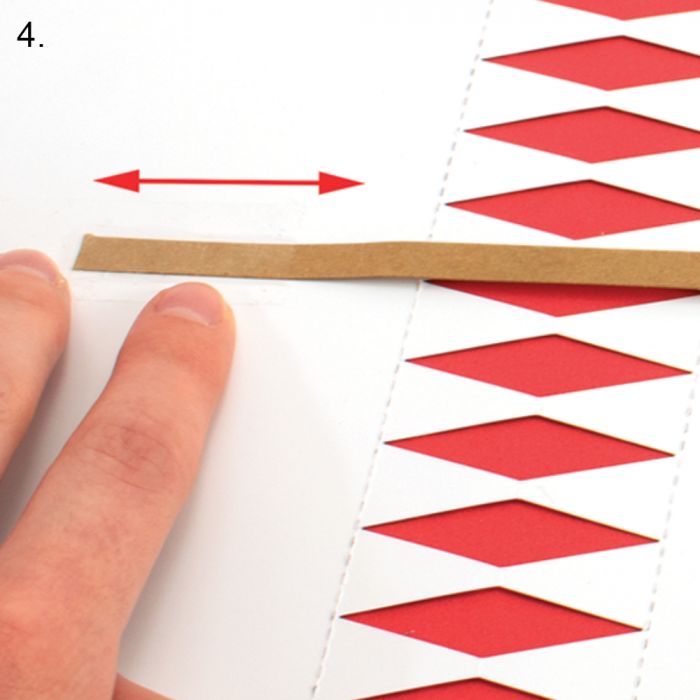
Step 4
Stick the snap securely at both ends with a glue gun or good quality strong sticky tape.
If using tape, make sure you put the tape along the snap and not across. This will ensure the snap bangs when pulling the cracker.
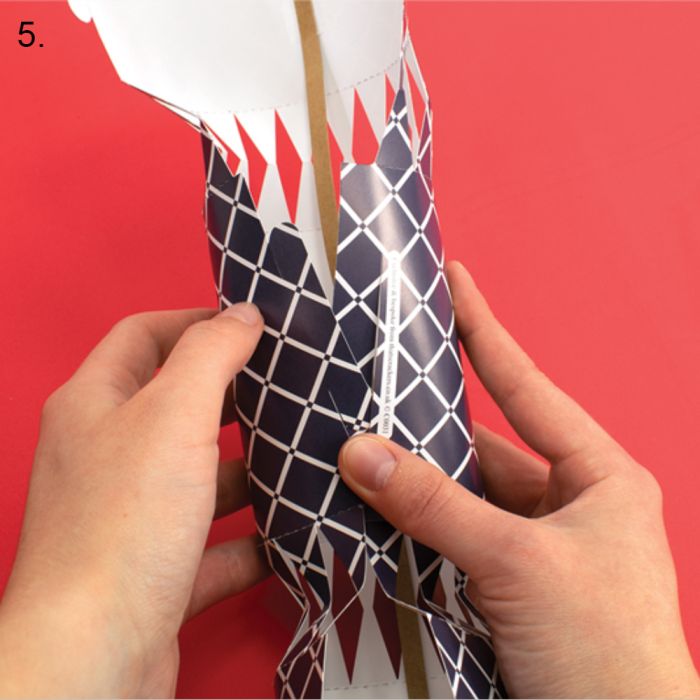
Step 5
Gently roll the cracker to join the middle tab into the slot. At this stage take care to avoid tearing the crackers where the “diamonds” have been removed, as this is the weakest part of the cracker.
Join the tabs of one handle, leaving the other handle open. this is to help with filling later.
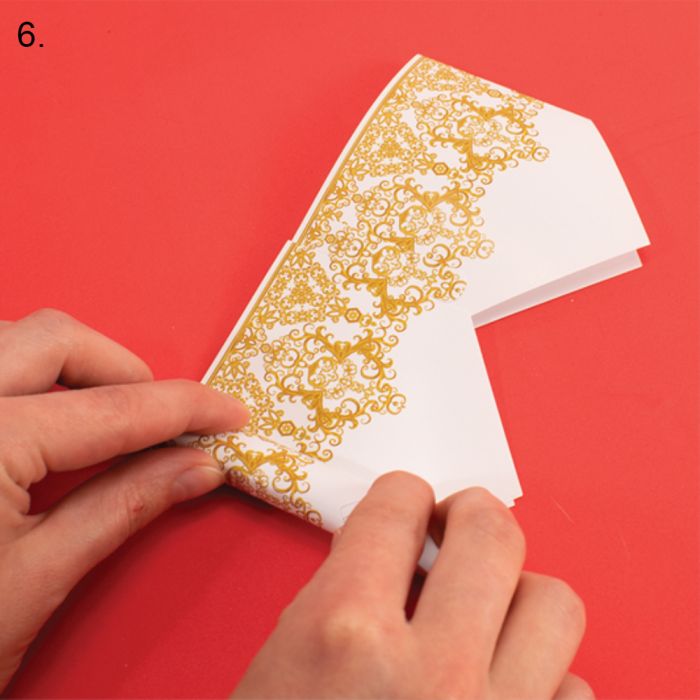
Step 6
Now tightly roll up the hat and the joke, if you have one, and place inside the barrel, making sure it is completely within the barrel area.
You could also add your gift at this stage, wrapping the hat and joke around the gift to help it all slide in.
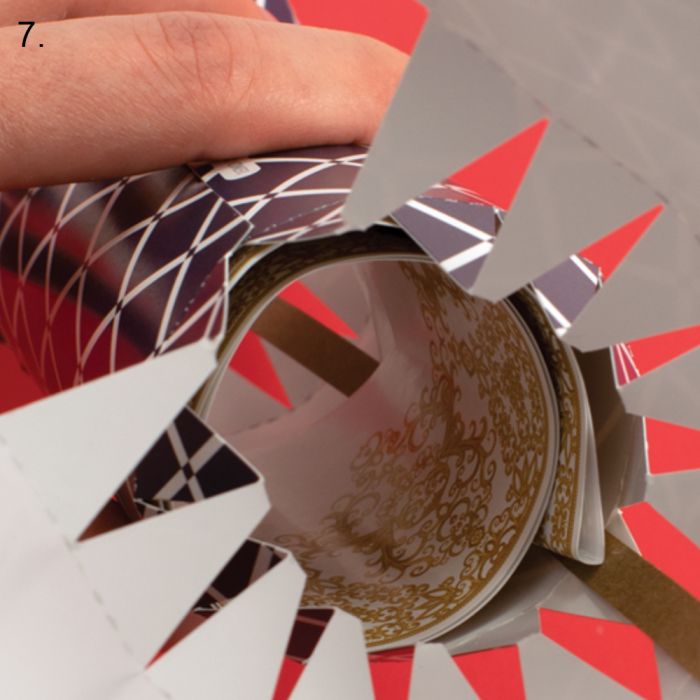
Step 7
When you let this go, it will then expand to fill the barrel, which will leave you room in the centre for your gift and joke later.
Now secure the other end tabs.
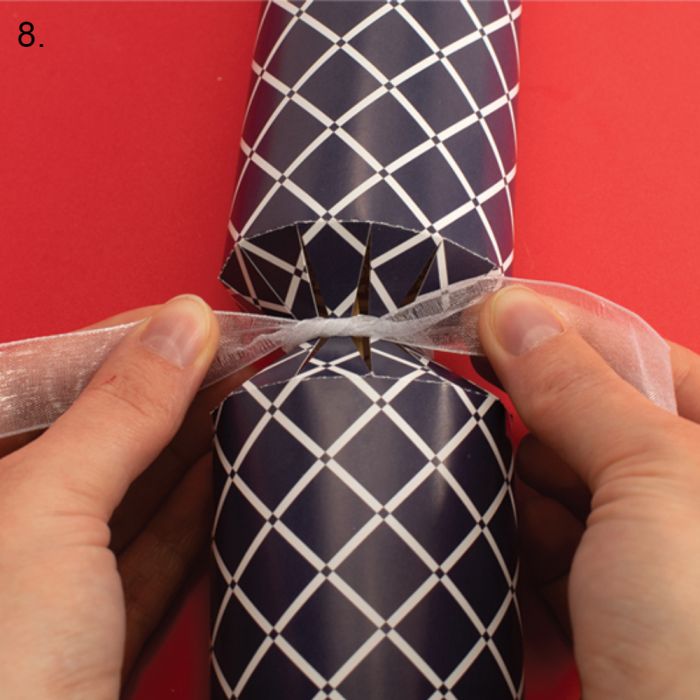
Step 8
Tie a piece of ribbon in a knot around one neck of the cracker, pulling slowly and gently until you feel the cracker is completely secured. Keep tight but do not overtighten it and then tie a bow.
For a basic bow you will need approximately 50cm per cracker neck for a standard sized cracker or 60cm per cracker neck for a large cracker.

Step 9
If you haven't already, fill your cracker with your chosen gift. Then tie the other cracker neck with another piece of ribbon.
If necessary, trim the ribbons to complete your cracker.